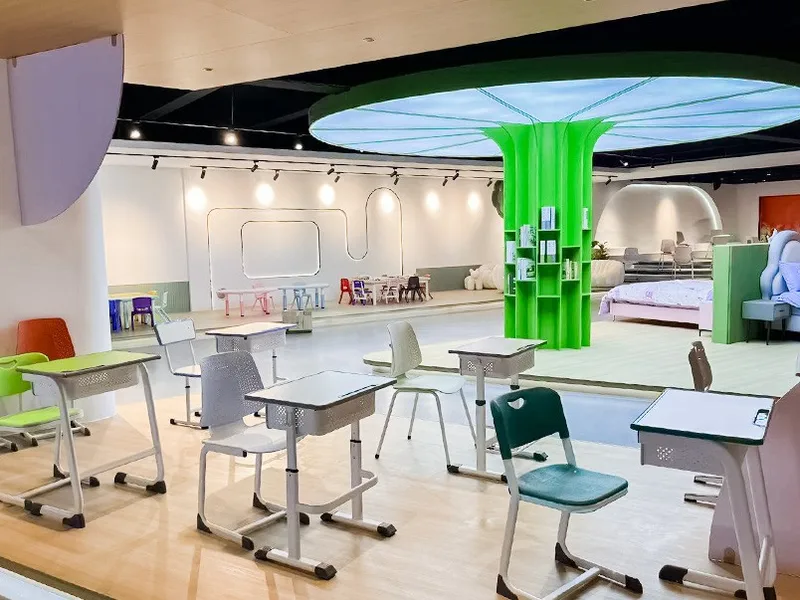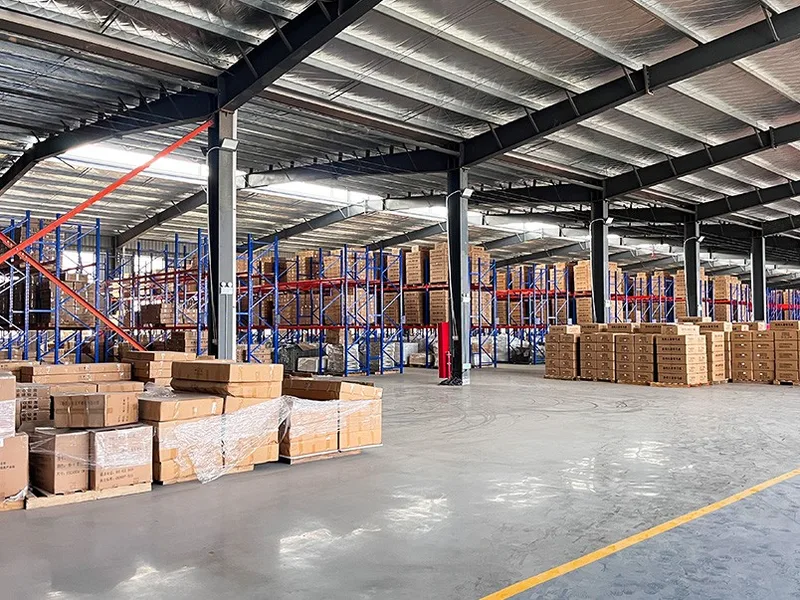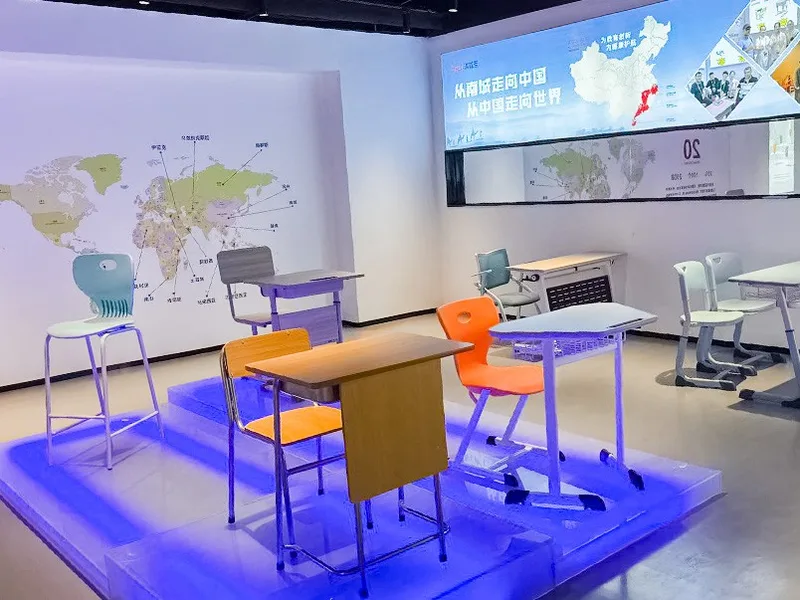
A school furniture order is not approved when the invoice is paid. It is approved when a physical sample is signed, a specification is frozen and a container is checked against both.
Most disputes we see are not about quality in the abstract. They are about a difference between what the buyer pictured and what the factory was told. The sample and the approval documents exist to remove that gap.
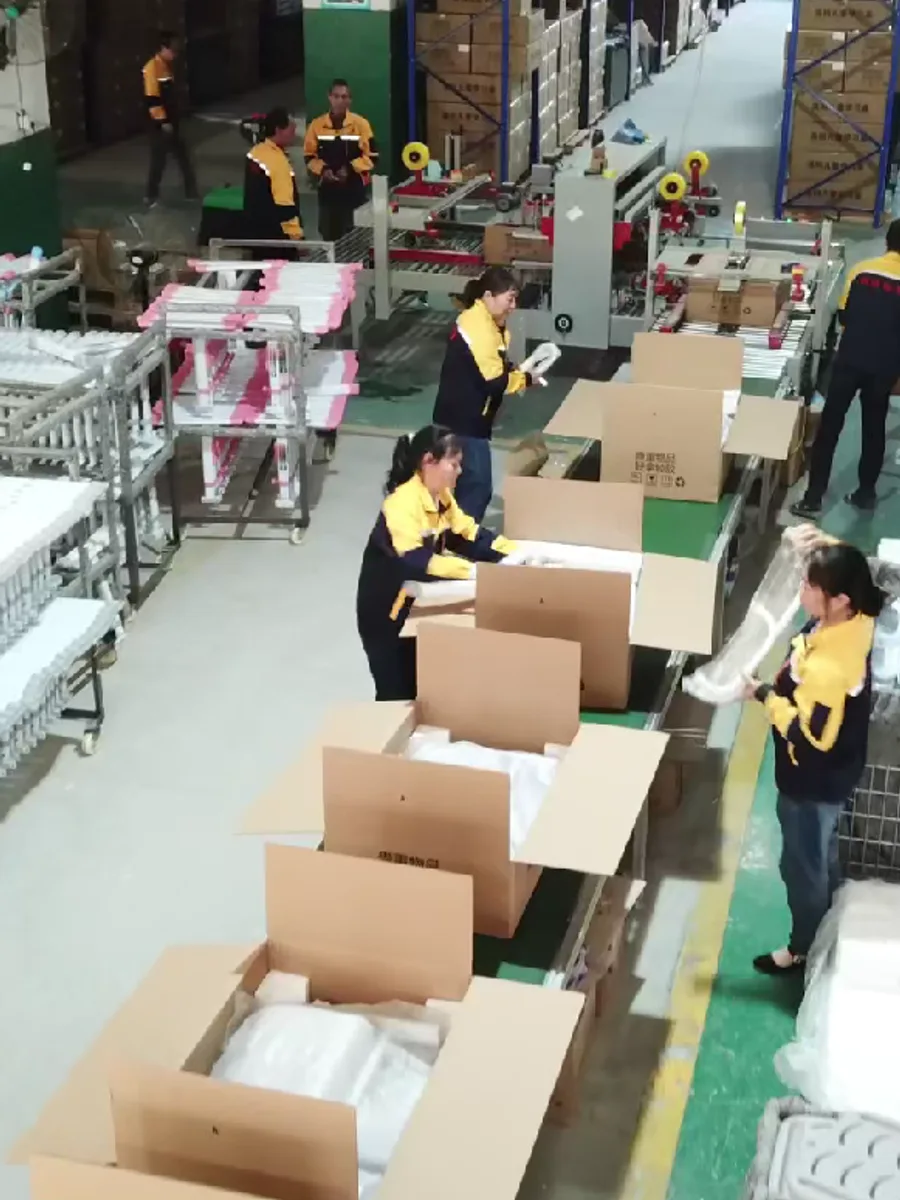
Step 1 — The RFQ that can actually be quoted
A useful request lists model numbers, quantities, destination port and any mandatory standard. If the models are not ours, a drawing or a clear photo with dimensions works.
The missing information is usually the boring part: colour, carton marking, size marks per room, and whether the order will ship as one container or several. Each one changes the production plan.
We quote from a full list because a price for one model and a plan for a school are different documents.
Step 2 — The sample
Samples are charged, and freight is paid by the buyer. That is normal in this trade: a free sample usually means the cost is hidden in the bulk price or the sample is not the production build.
Confirm the sample lead time and freight arrangements in the quotation. Treat the sample as a reference for the whole order, not a preview of one product.
Check these before you sign:
- Dimensions against the size mark. Measure seat height and table height separately, and check that the pair matches the standard you specified.
- The board. Look at a cut edge, not the laminate face. Confirm the board type and thickness in the quotation.
- The weld. Look at the joints under the seat and at the leg-to-frame connection. A neat paint line can hide a rough weld.
- The coating. Check an edge and a recess, not the flat panel.
- The hardware. Confirm fixings, glides, caps and any adjustment mechanism. Ask for spares.
- The carton. If packaging matters, approve the carton print and the packing method at sample stage, not after production.
Sign and date the sample, and keep photographs with the approved specification. If you can, keep one sealed unit as the golden sample.
Step 3 — Freeze the specification
Before production, the approved sample becomes a document. It should name the model, dimensions, board, frame, colour, hardware, packing and any logo or carton artwork.
This is also the moment to confirm the room schedule: how many units of each size mark, and whether they need to be marked or packed by room. A container loaded by room is easier to install than a container loaded by model.
Step 4 — Deposit and production
Production starts after the deposit and the approvals. Our standard ranges run about 25 days after deposit; custom colours, new moulds or new carton artwork add time before the line starts.
During production, ask what is checked and when. A factory that only inspects at the end is inspecting a finished mistake. Inline checks on welding, coating and assembly catch problems while they are still cheap to fix.
Step 5 — Pre-shipment inspection
The inspection plan should be agreed before production, not negotiated when the container is booked. At minimum, it covers:
- quantity per model and per size mark;
- dimensions against the approved sample;
- stability and a load check;
- hardware completeness;
- coating appearance and touch-up;
- carton marks and packing.
The inspection report should name the models and the sample it was compared against. "Passed" without a reference is an opinion.
Step 6 — Loading and documents
Ask for loading photos before the container leaves: cartons in the container, the seal number and the closed doors. These photos do not prove quality, but they prove quantity and condition at departure — which is exactly what you need if damage appears on arrival.
The document set is usually a commercial invoice, packing list, bill of lading and, where required, a certificate of origin. Test reports and certificate scans should already be in your file from the tender stage.
Step 7 — Arrival and the first week
The most useful thing a school can do is inspect in the first week, while the container is still being unpacked and the installation team is on site.
Check a sample from each carton, not just the first one. Confirm the size marks against the room schedule. Photograph any damage before the packaging is discarded.
Then compare what arrived with the golden sample. If there is a difference, the conversation is about a specific, documented gap rather than a general impression.
A realistic timeline
| Stage | Typical duration | Clock starts |
|---|---|---|
| Quotation | Confirm for the project | Complete RFQ |
| Sample | Confirm in the sample quotation | Sample order and freight |
| Approval | Allow for buyer review | Sample received |
| Production | About 25 days | Deposit and approvals |
| Inspection and loading | Agree in the order schedule | Production complete |
| Sea freight | Depends on route | Departure |
The dates that move are usually approvals and vessel schedules, not the production line. Build the shipping window around the later of the two.
The one habit that prevents most problems
Write down what you approved, and keep the physical sample. Everything else — the inspection, the loading photos, the warranty conversation — depends on that reference existing.
If you are starting an order, send us the model list and the room schedule. We will quote the sample and the bulk order against the same specification, so the only difference between them is quantity.